
 |
 |
 |
 |
 |
 |
 |
 |
 |
 |
 |
 |
 |
A first look at simulation steps
Train modelling
Route creation
Initial train location
Starting simulation
================================================================================================
TRAIN MODELLING
=============================
Another graphic editor, imbedded in the program, allows to build train consists by concatenating loco and car symbols.
(Tag "Consists" >> "Create/Modify")
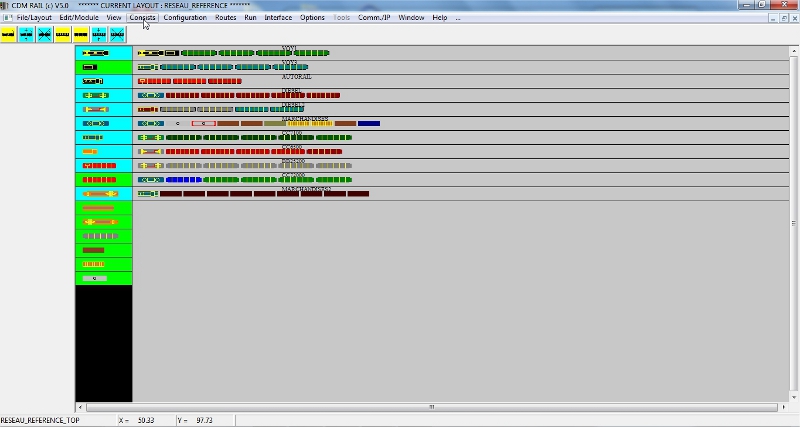
Any placed item (locomotive or car) can be assigned a specific length and a specific colour, so that the overall train length and appearance, during simulation, can be customized.
The maximum speed may be defined for any train, as well as acceleration and deceleration factors.
BACK TO TOP OF PAGE
ROUTE CREATION
==================
CDM-Rail allows to define an unlimited number of routes, on the layout.
Any route consists of blocks delimited by signals (inserted during the drawing phase) and bumper stops.
Routes are captured graphically.
(Tag "Routes" >> "Create/Modify")
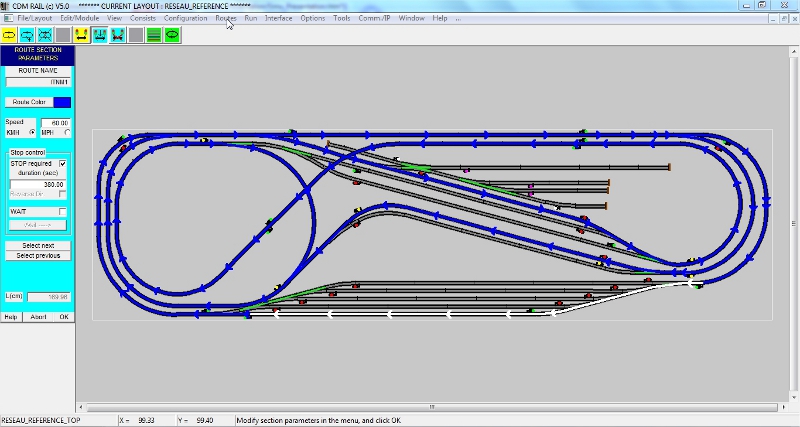
For any block, it is possible to define a specific maximum speed, and an optional stop, with programmable stop duration.
Ii is also possible to:
-
automatically invert train direction, after a stop: this is the case for service tracks (bumper stops).
-
synchronize train start on an "actuator", triggered by another train.
Any route is looped, so that it may be travelled indefinitely by attached trains.
BACK TO TOP OF PAGE
INITIAL TRAIN LOCATION
=========================
Before starting simulation, trains must be located on the layout at their starting points.
(Tag "Consists" >> "Place")

Any train involved in the simulation may be attached to a specific route (as shown on above screenshot), or may be standalone.
Route attached trains are fully automated: speed automatically controlled, and turnouts automatically set to proper states acording to the route. The only degree of freedom is to lower speed below currently authorized speed limit, and stop/restart the train.
It is also posible to save a simulation or placement context, so that trains and routes can be easily restored, in case the same starting configuration has to be reused..
All trains, signals and turnouts are set to their states at save time.
The following screenshot shows a simulation context with 6 trains.
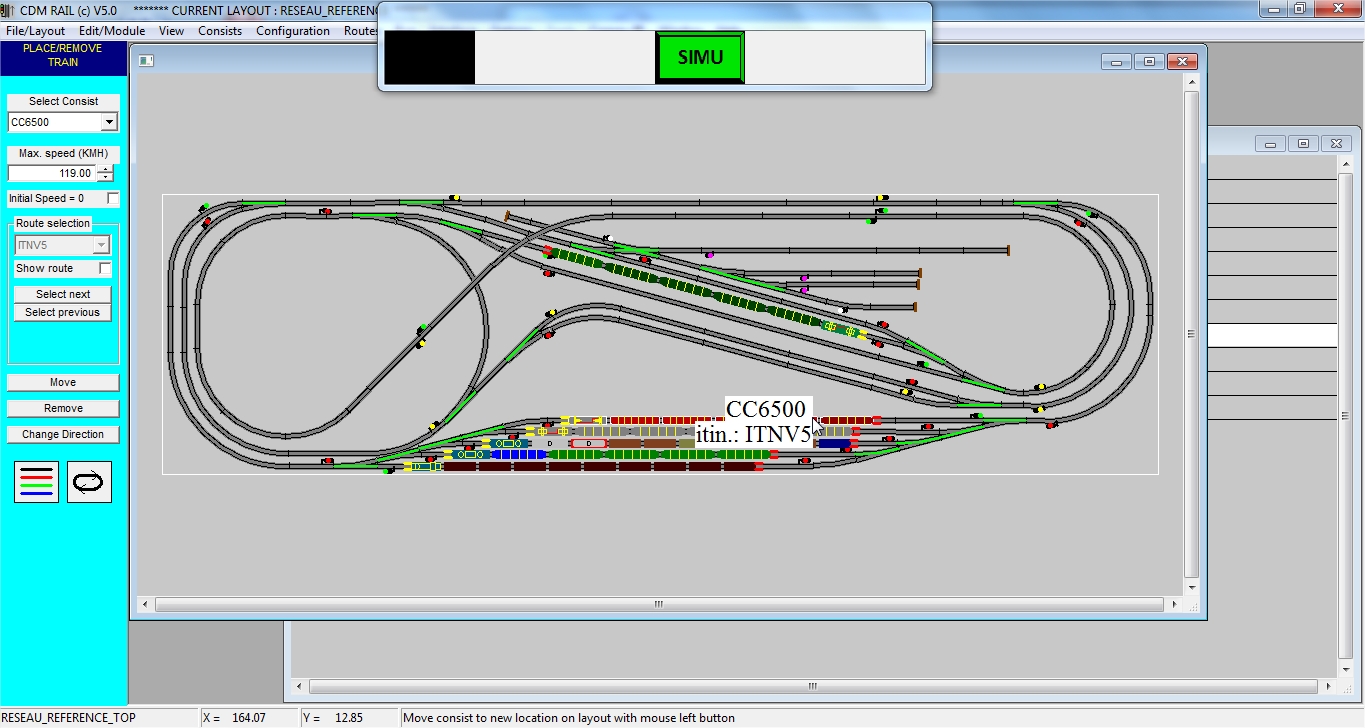
The RUN/SIMU menu pops up, and clicking button "SIMU" starts the simulation.
BACK TO TOP OF PAGE
SIMULATION
=============
After simulation start (from menu SIMU/RUN or tag "Run" >> "Simulation"),
menu SIMU/RUN shows new buttons.
The overall set of buttons allows to control the main operations needed during simulation..
A second row of buttons shows up when the 5th button(train operations), or 6th button (display) is clicked.
Click on screenshot below, to watch the simulation video (about 7 minutes 30).
The block security is heavily involved, between 5 minutes et 6 minutes 30.

The simulation allows to verify, before driving the real layout, that block security and acceptable trafic capabilities are achieved by (virtual) signals, previously placed on the layout, during the drawing phase.
A throttle controller is attached to any train and this controller may be also used in RUN mode (real layout driving).
Any turnout state is displayed by a (green) colour line.
Upon completion of this second main function of the software, the real layout build phase may begin.
File ".lay", corresponding to your project, will contain all required data, for laying tracks and perform layout block partitionning.
The third and last function of CDM-Rail, "RUN" mode, aims at DCC digital system users, for automated layout driving.
The simulation is also the "RUN" engine .
The speed commands sent to real trains, are exactly the speed commands sent to simulated (virtual) trains.
BACK TO TOP OF PAGE